
There are many skills on earth that, when mastered, enable you to feel like you’ve cracked life, like you’ve beaten the simulation. Those skills include: Predicting to the millisecond when the toaster will pop, how to engage in hand-to-hand combat on the back of a speeding jetski and how to open a packet of paracetamol without being obstructed by that annoying paper pamphlet. Well, add to that list: ‘How to pour the perfect pint.’
POURING A PINT LIKE A PRO
We’ve all attempted to pour a half pint of lager back into our pint glass and been met with approximately 3.5 metres of head. “I’m glad this has happened” you’ll say loudly before being forced to eat a gallon of foam. Well never again. When the sun is out and you’re pouring the perfect beer into the perfect glass at the perfect angle, allowing for the earth’s gravitation pull, there are few finer feelings in life. So buckle up, it’s time for STEP 1.
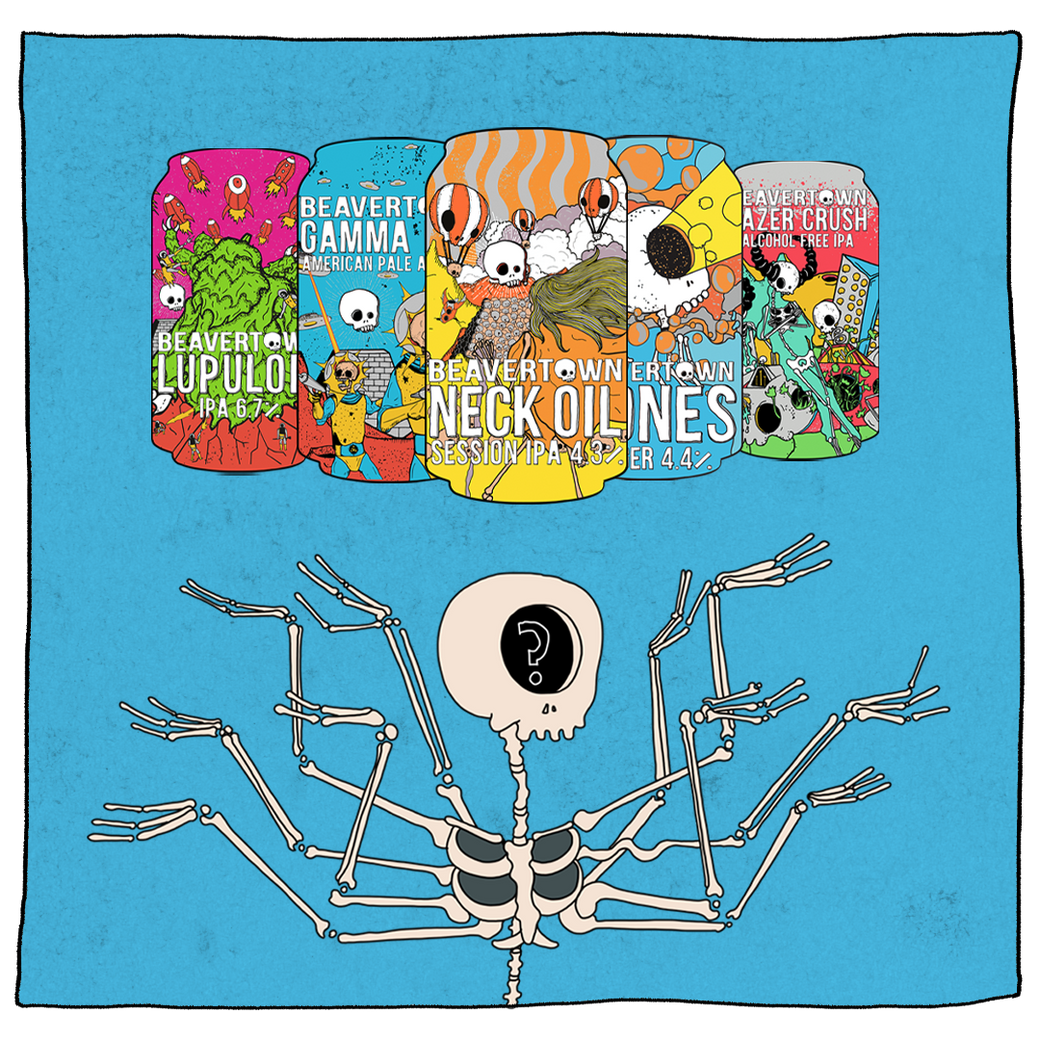
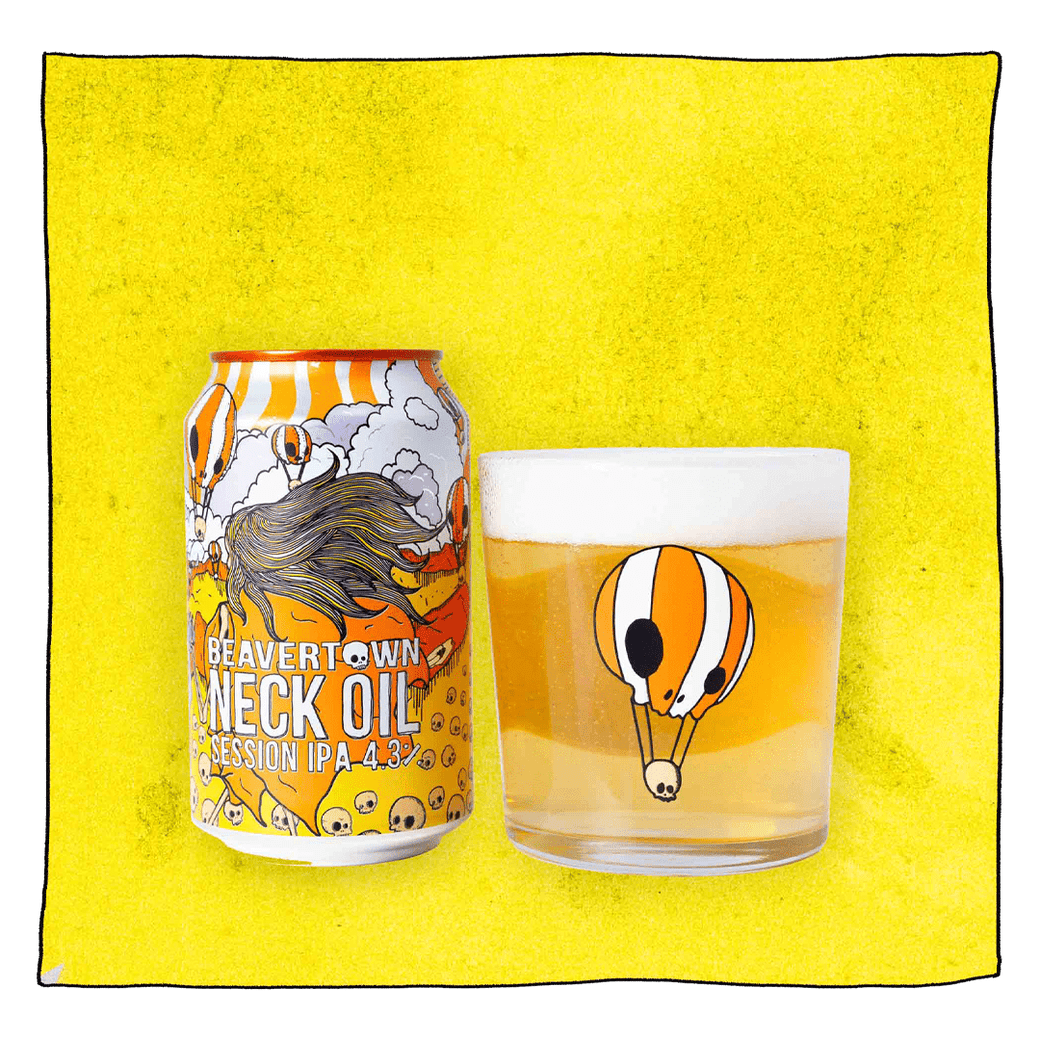
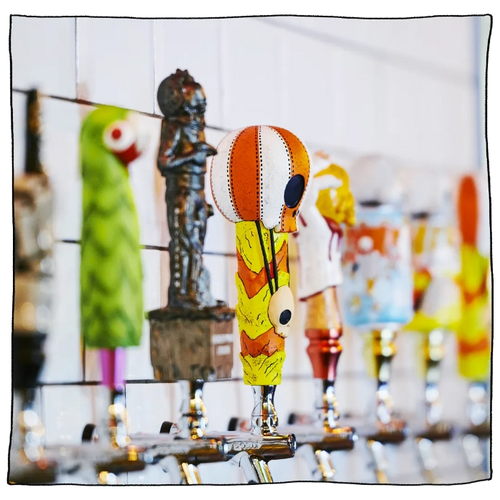
STEP 1: PICK A GLASS
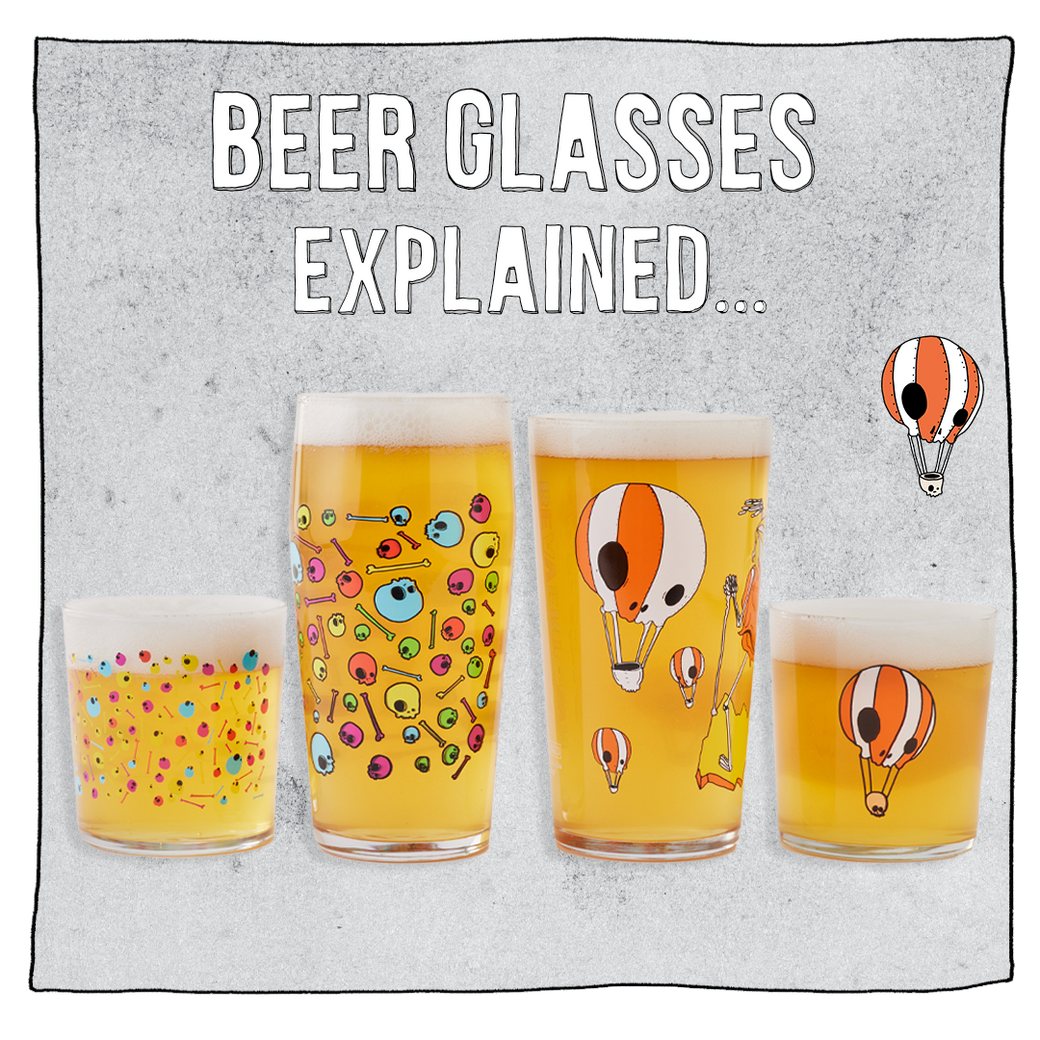
If this first step has surprised you and you were just in the process of pouring a pint into your cupped hands, then maybe the pursuit of the perfect pint isn’t for you. To quote Sir Francis Drake, probably: “The vessel is all important.”
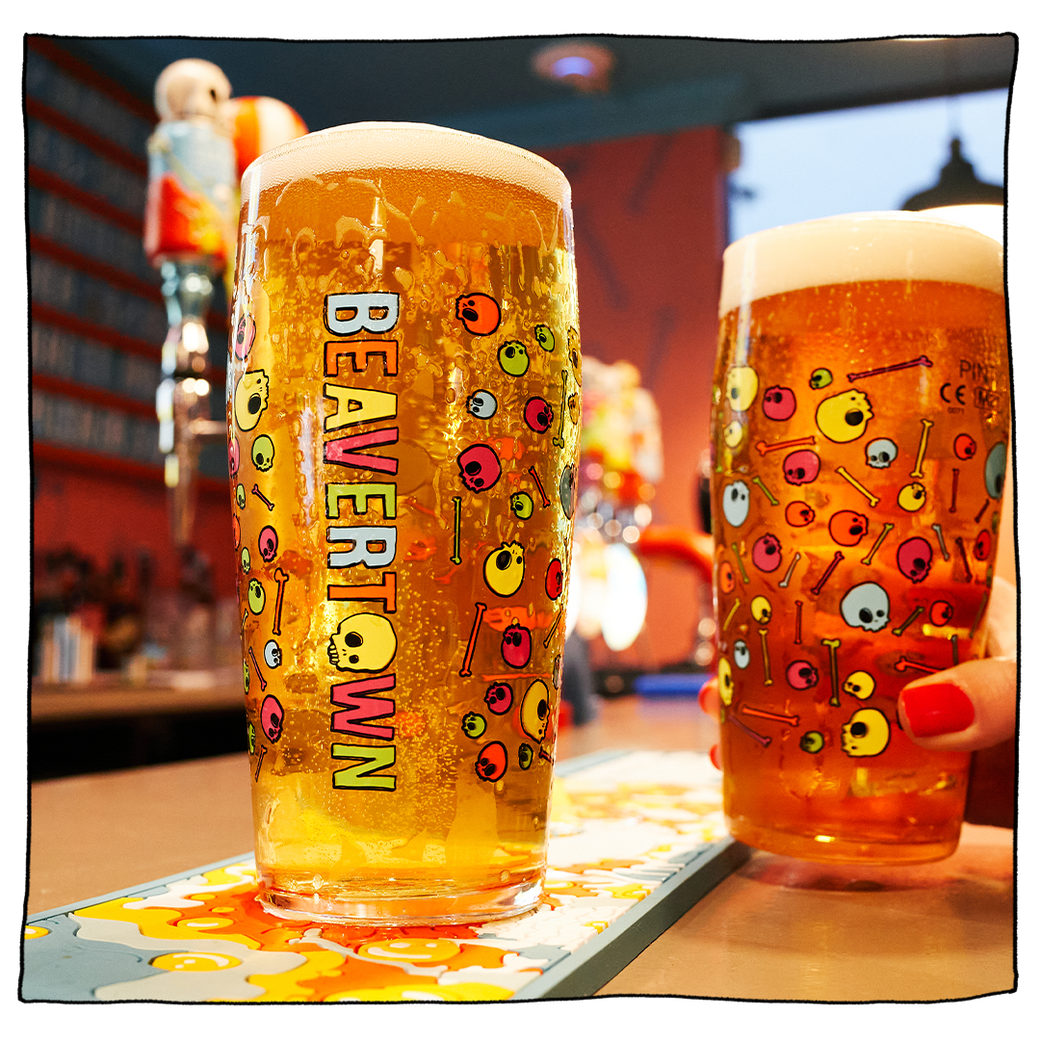
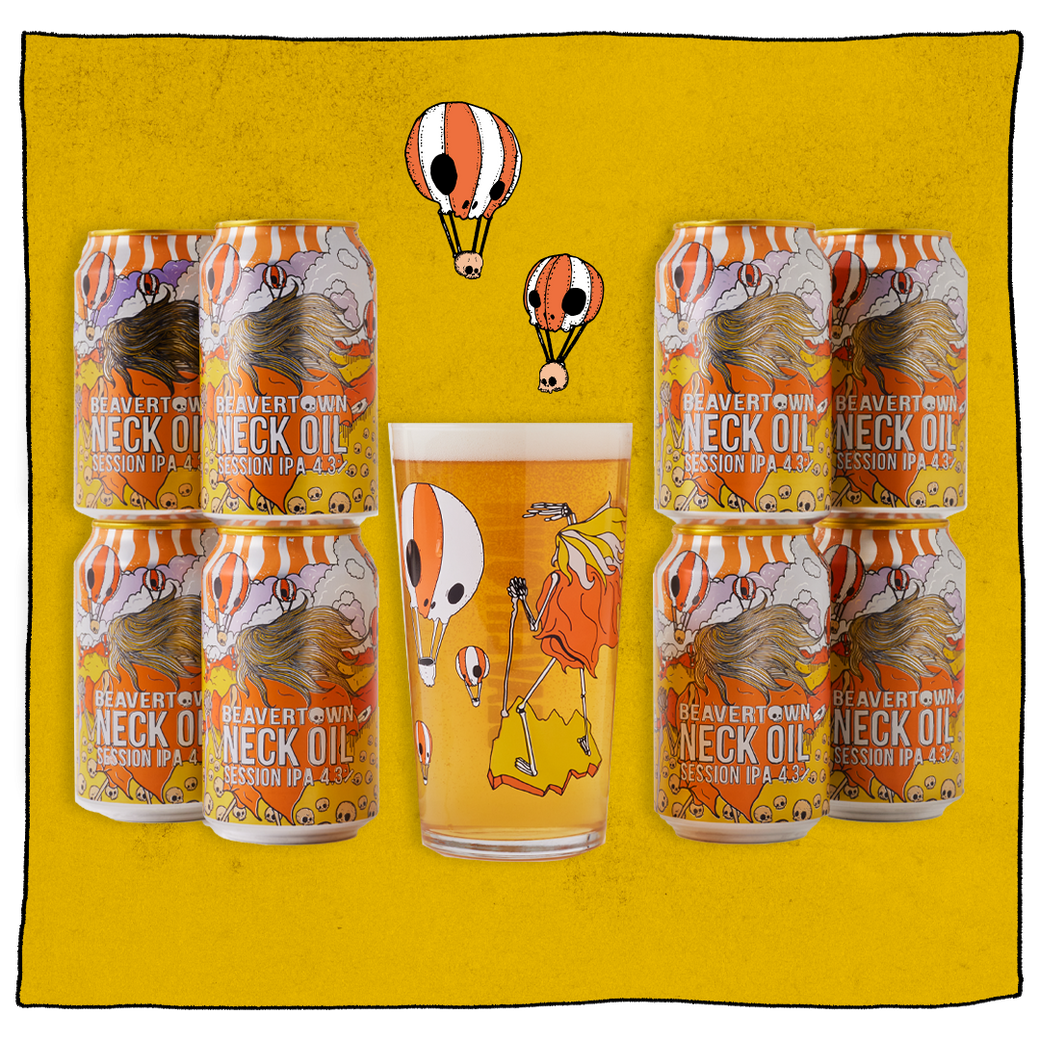
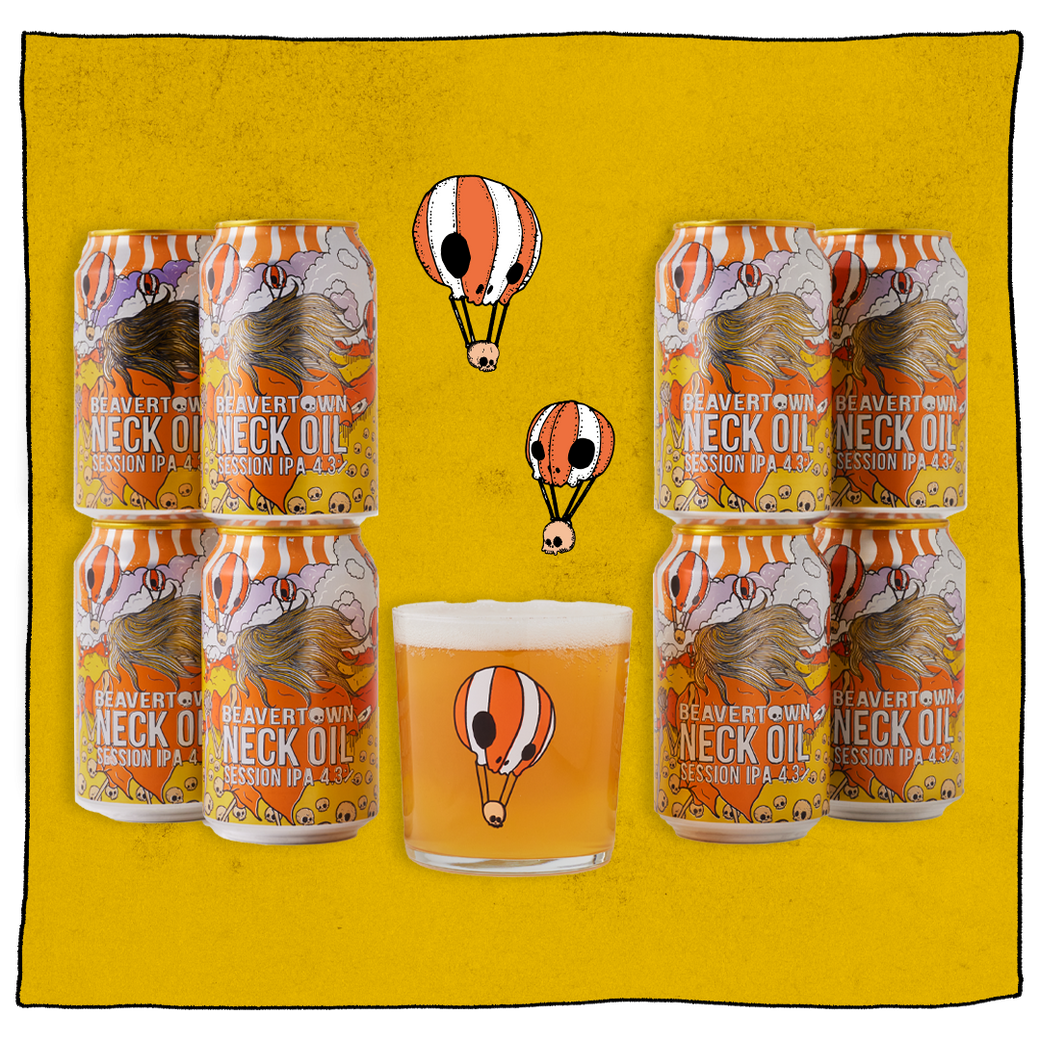
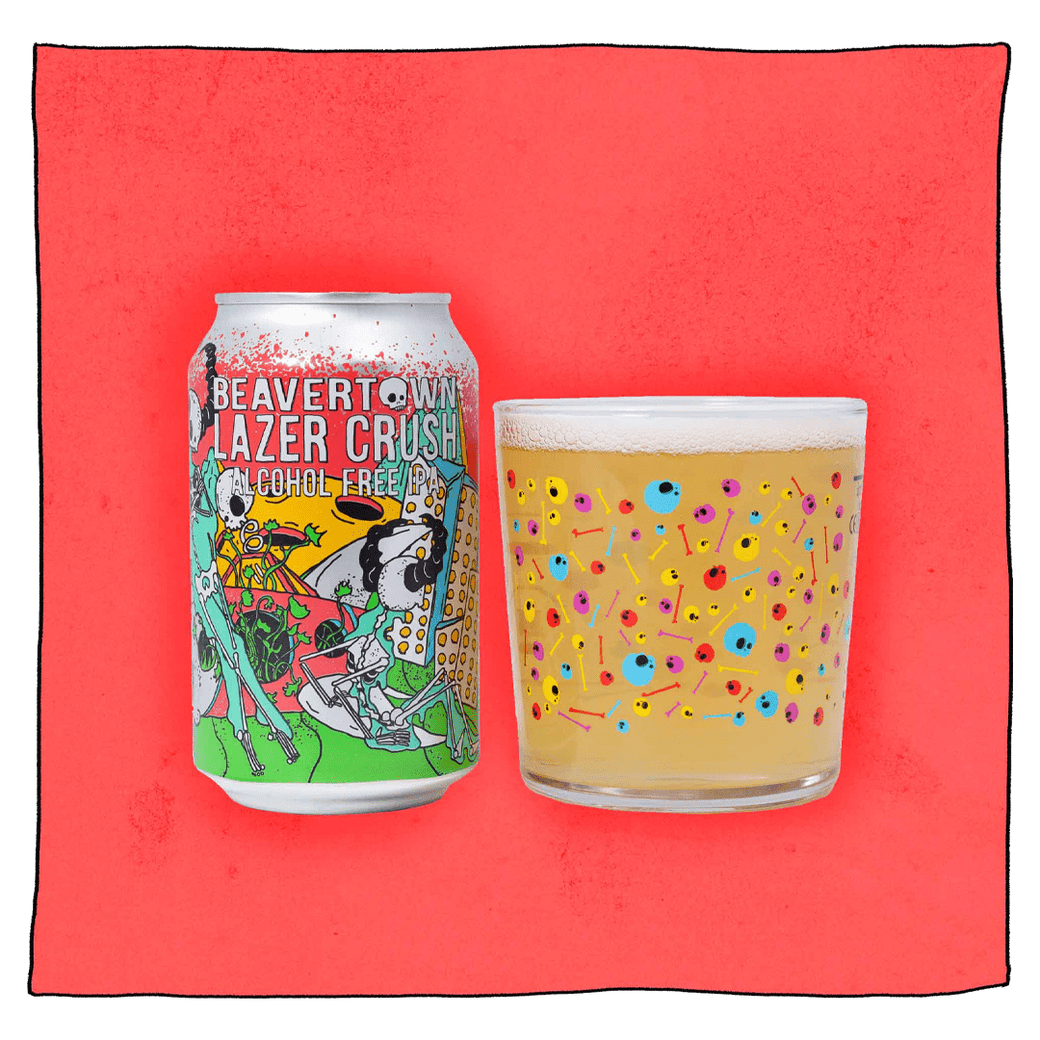
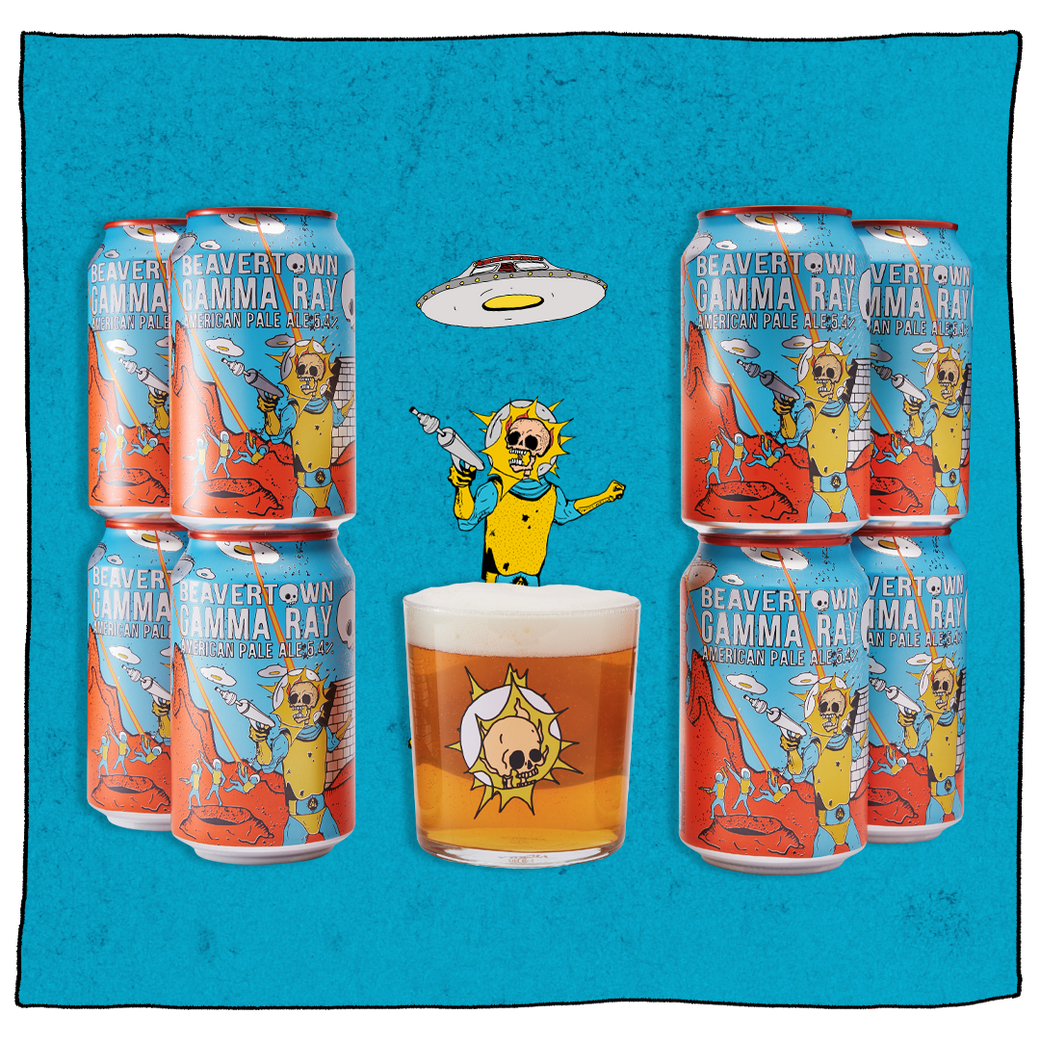
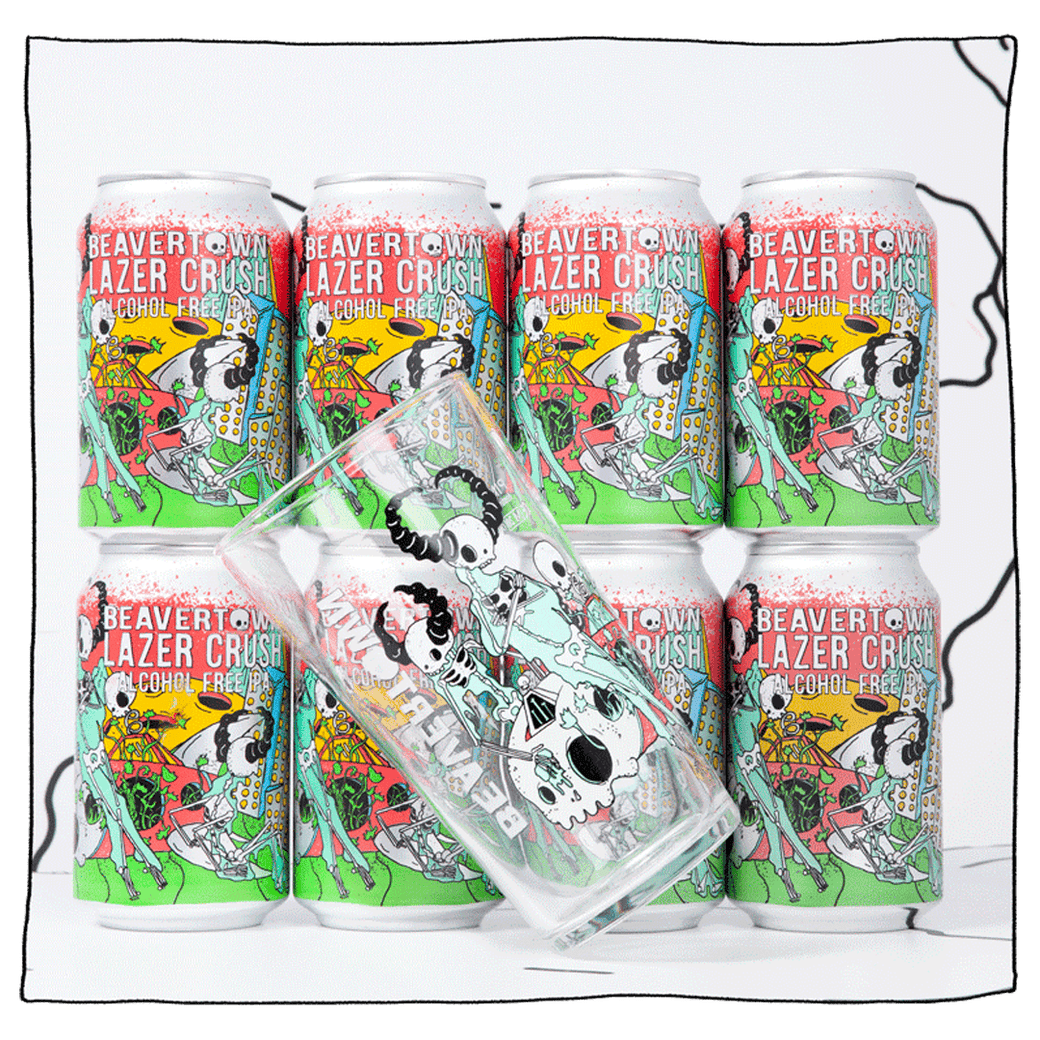
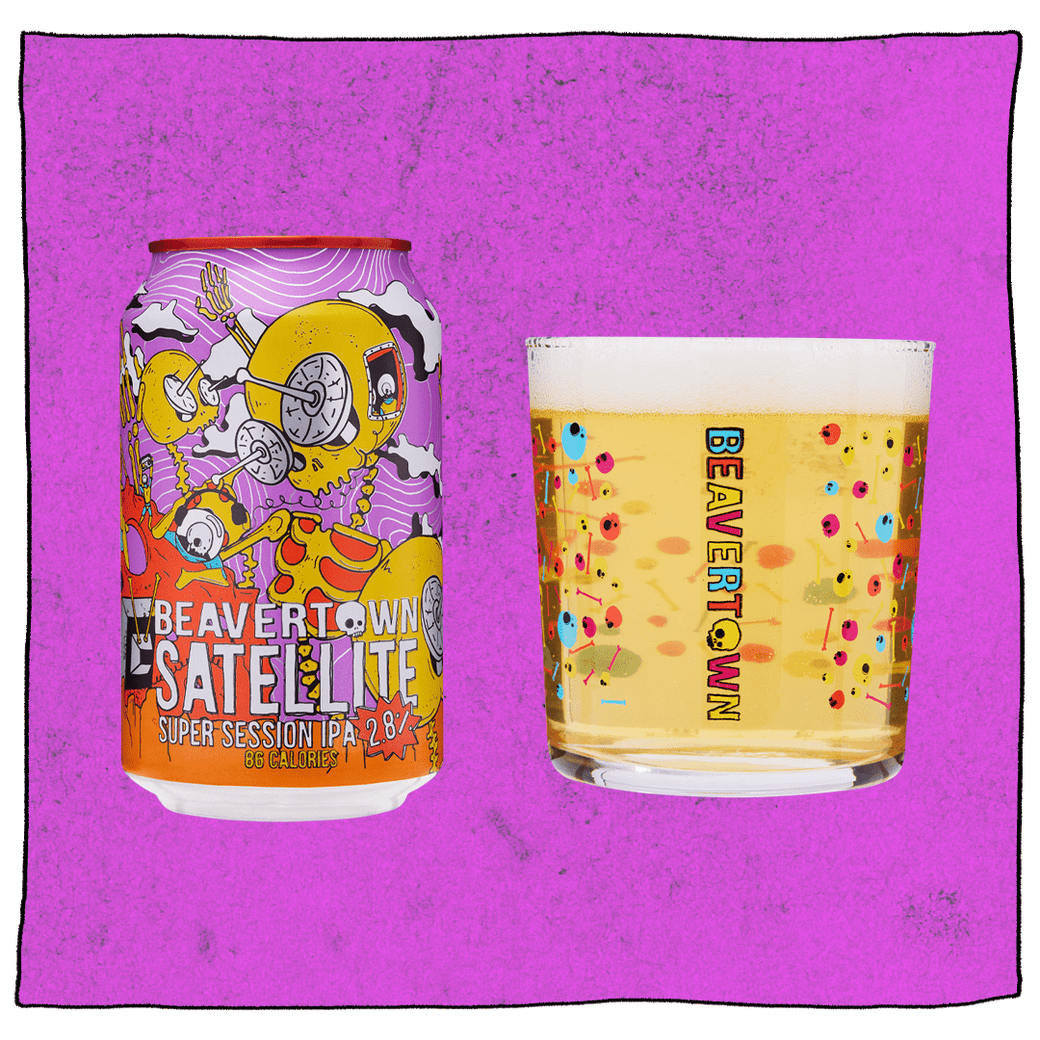
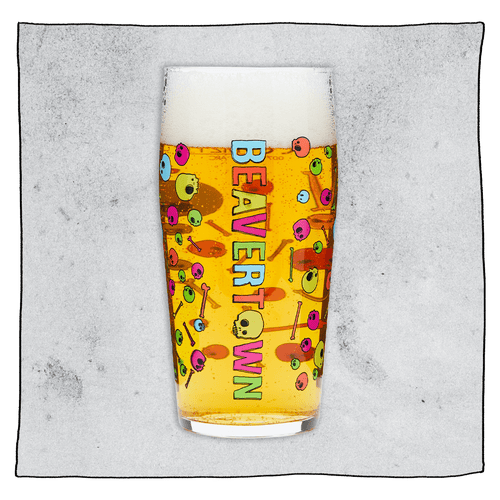
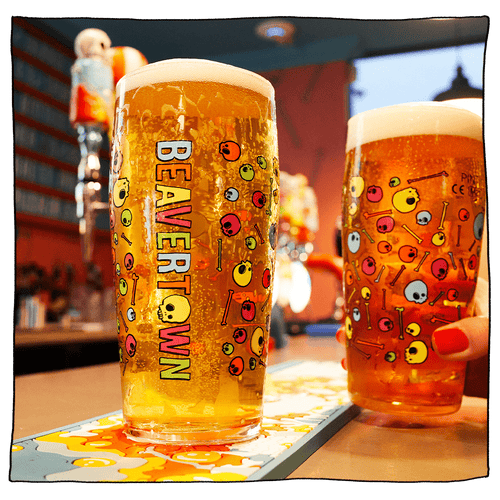
After all, different glass shapes can enhance the aroma and flavour of the beer, as well as impacting the beer bubbles, foam head development and retention. And there can be no finer vessel than the Beavertown pint glass. Made from sand dug from one of Neptune’s planets, Beavertown beer tastes better out of a Beavertown glass. That’s just a universal fact. And you can get your hands on one by heading here.
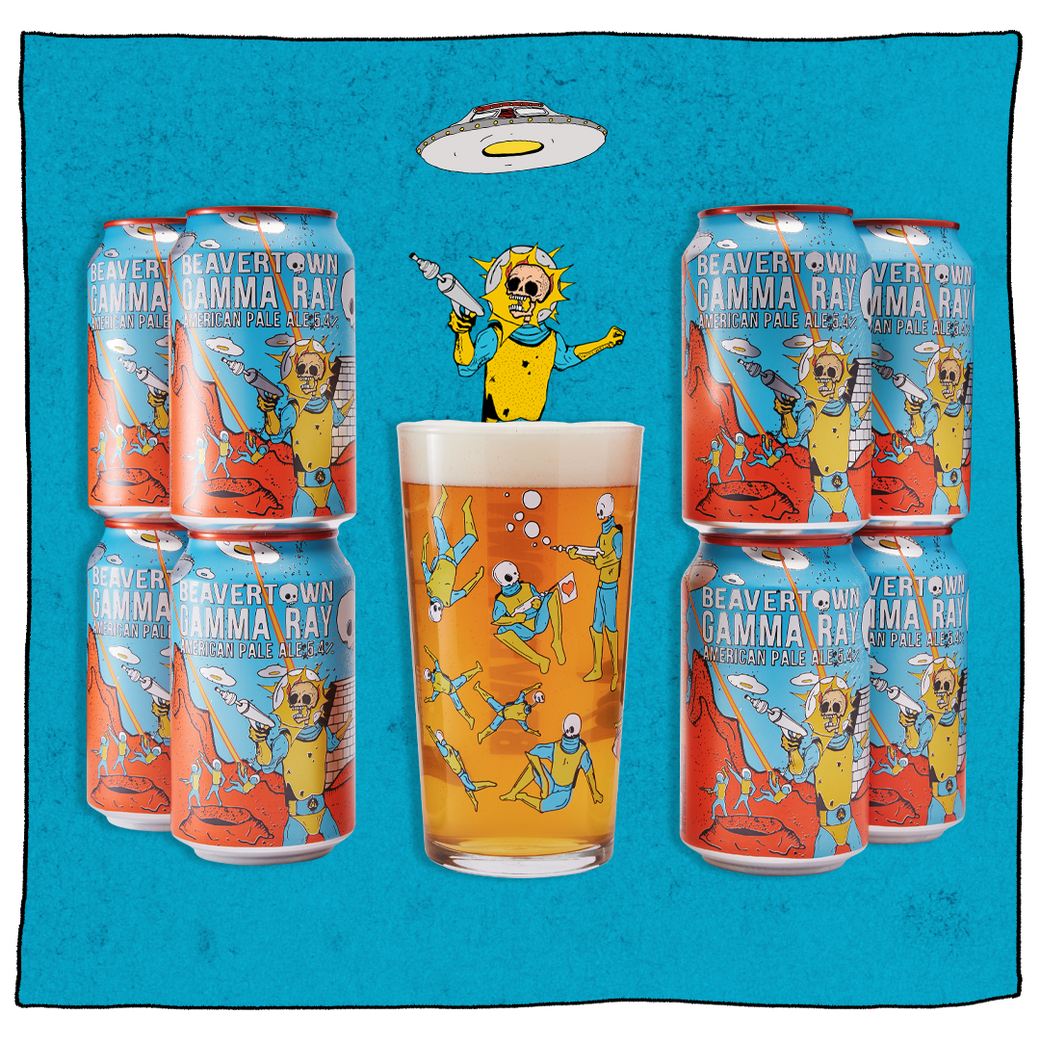
Or GET ONE FREE* when you buy a 10 pack of Neck Oil from Sainsbury’s or Waitrose. Info here*
STEP 2: MAKE SURE THE BEER IS COLD
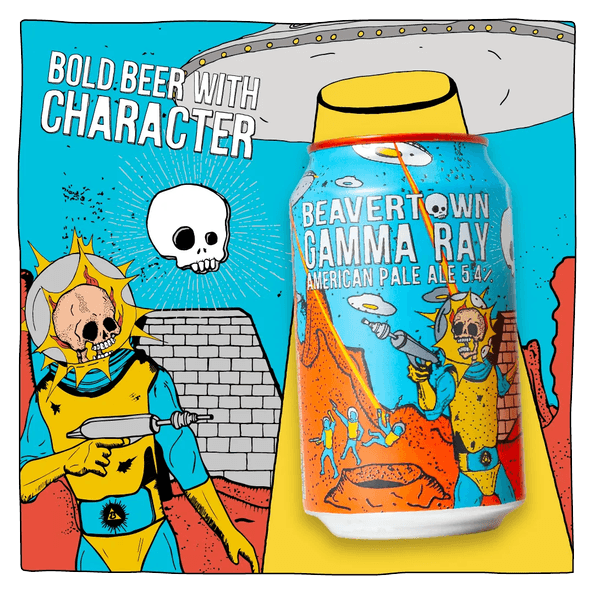
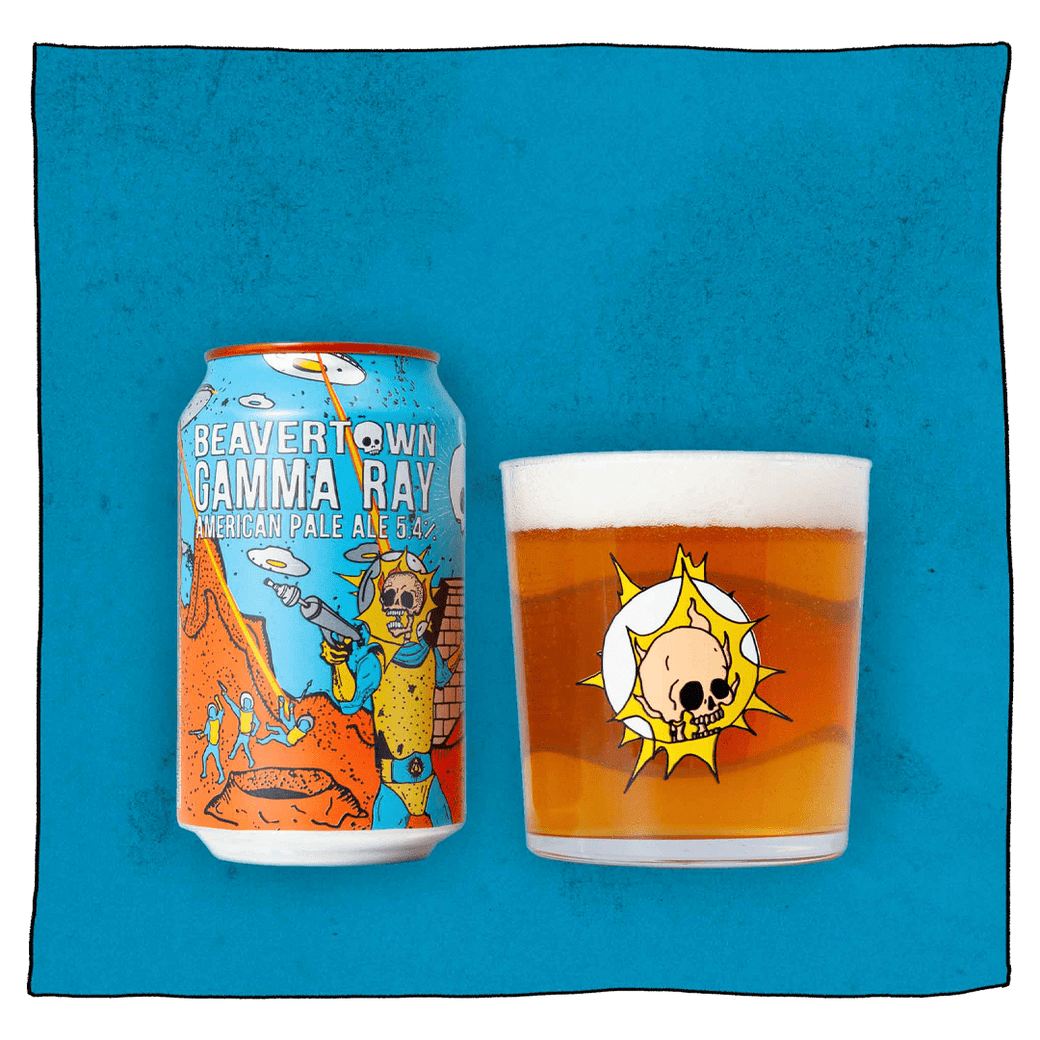
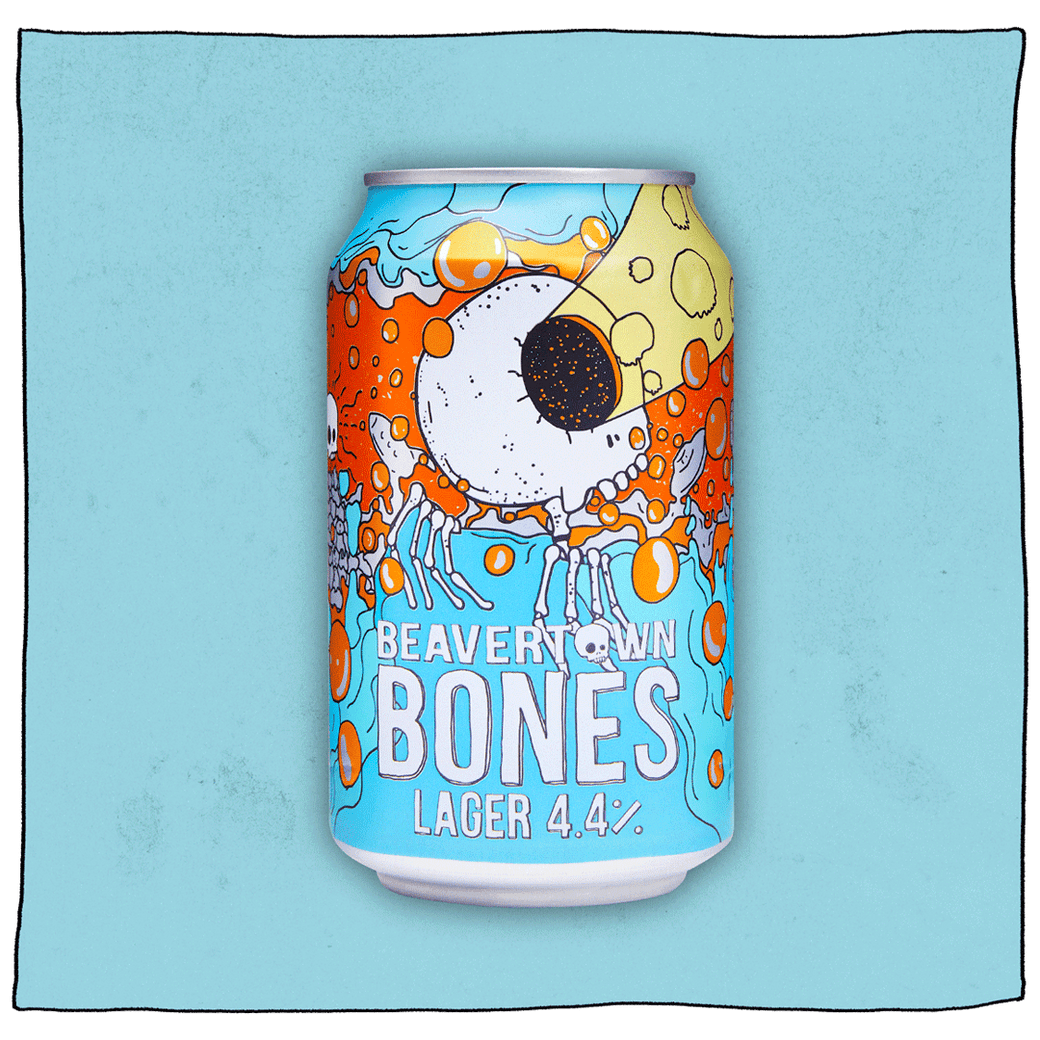
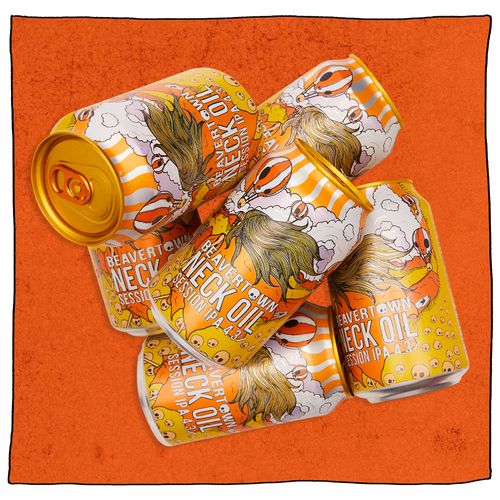
Again, if you were just reaching for the saucepan, put it away. Beer needs to be cold and crisp for maximum enjoyment. A pale ale for example is best served at a 6-8 degrees centigrade. For which there’s always, your friend and ours: The fridge. Or for those who like to live on the edge, you can submerge your cans in a bucket filled with ice water and salt. The salt will lower the freezing temperature, the ice will melt and in doing so will lower the temperature of the beer. Hello ice cold beer!
STEP 3: GET TILTING AND POURING
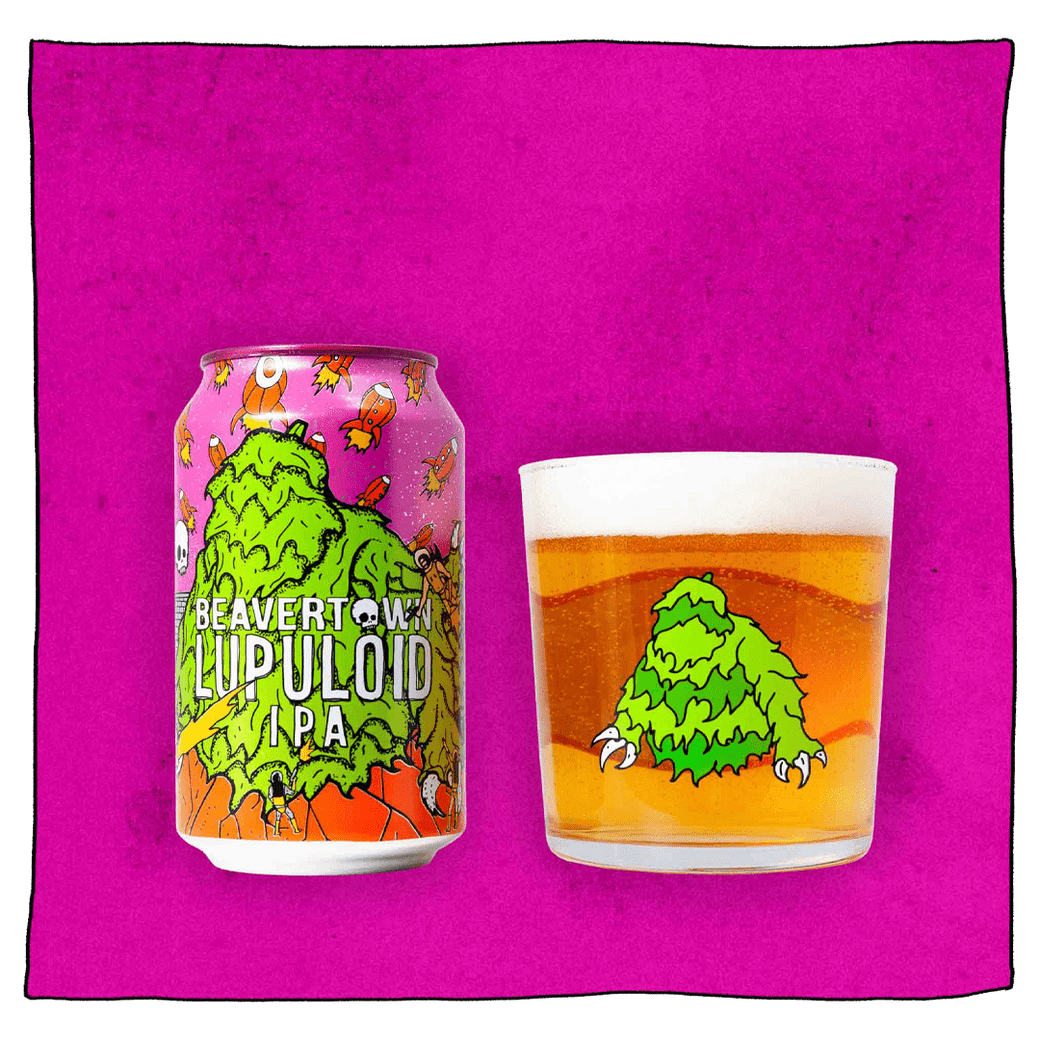
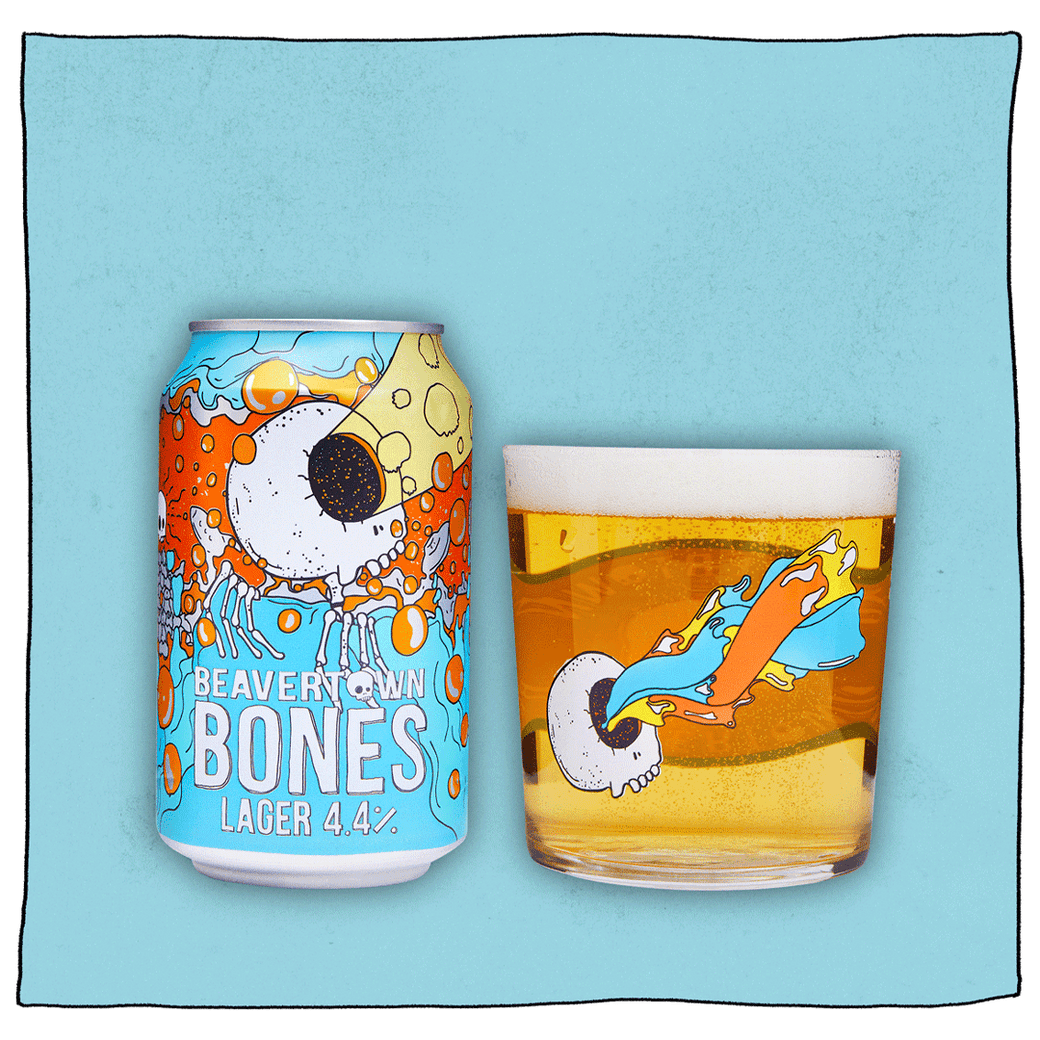
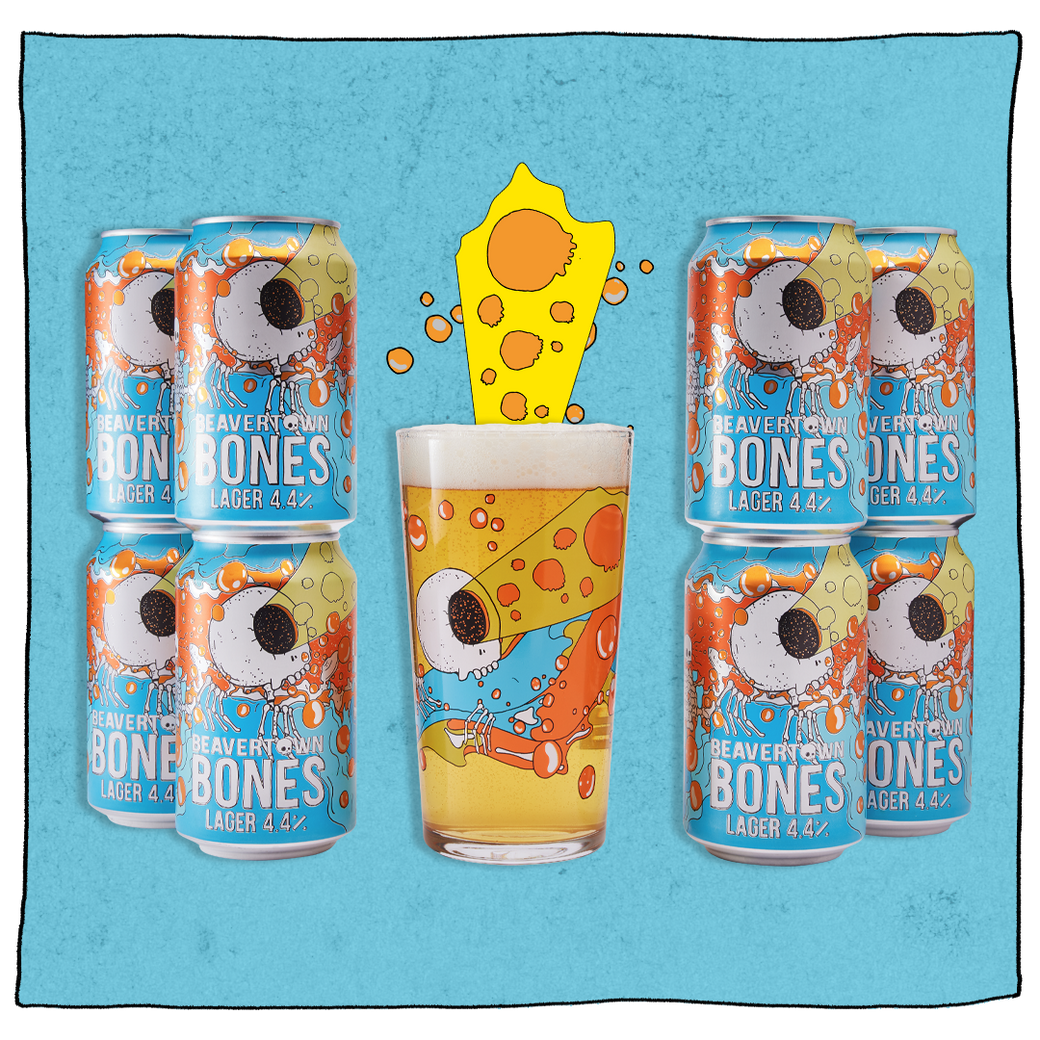
As many late tightrope walkers have said: Life is all about balance. Tilt the glass too little and it’s a one-way trip to Head City. Tilt too much and your beer will have virtually no head. So it’s time to get your Beavertown-endorsed protractors out because the angle you’re after is: 45 degrees. Allow the beer to pour down the inside of the glass and THEN once the beer reaches about halfway up the glass, you should slowly tilt it to an upright position, pouring into the centre of the glass, for just the right amount of head. Cue applause, whistles and probably marriage proposals.
STEP 4: ALLOW A FOAM HEAD TO FORM
It’s important to let foam heads develop naturally while pouring. And for extra Beer Pro Points, in case your head needs a little encouragement you can move the glass up and down while the head is forming.
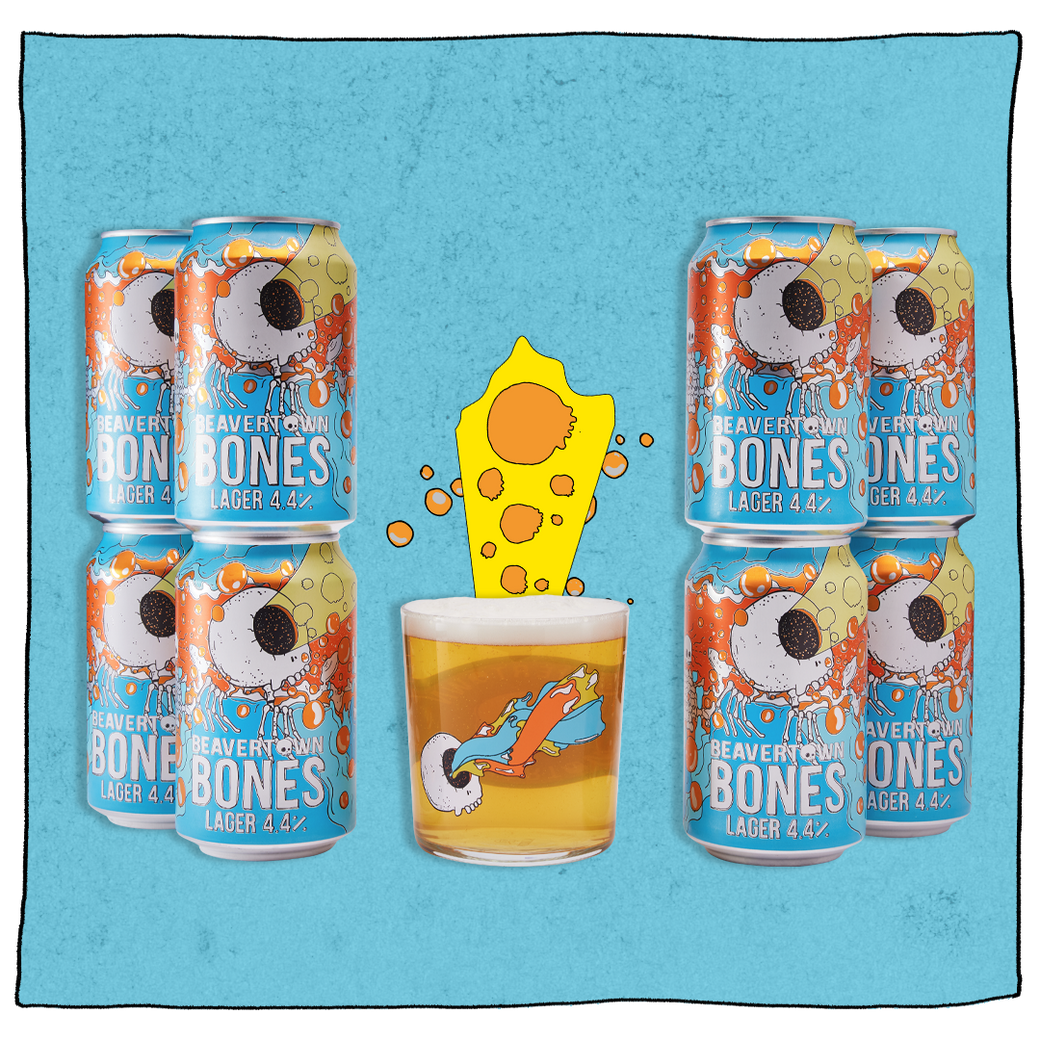
STEP 5: APPRECIATE THE FRUITAGE OF YOUR LABOUR
Just in the same way that Picasso, having spent 5 weeks painting Guernica, didn’t immediately shrug and move on to the next one, it’s important to appreciate your own work of art. Drink in the colour, clarity and foam consistency of your well-poured pint and maybe take a moment to appreciate the aroma of it before you dive in for your first sip. Your next challenge: Can you pour a perfect pint whilst engaged in hand-to-hand combat on the back of a speeding jetski?